
Injection Moulding - Don't Be Too Sharp
Your masterclass in product design and development
Protolabs’ Insight video series
Our Insight video series will help you master digital manufacturing.
Every Friday we’ll post a new video – each one giving you a deeper Insight into how to design better parts. We’ll cover specific topics such as choosing the right 3D printing material, optimising your design for CNC machining, surface finishes for moulded parts, and much more besides.
So join us and don’t miss out.
Insight: Injection Moulding - Don't be too Sharp
Transcript
Hello and welcome to this week’s Insight.
Today we’re going to take a close look at cutting corners. But before you get too concerned, I’m talking about the corners on injection moulded parts.
Now I like a right angle the same as anyone else, but sometimes it can be a bit too sharp for its own good.
As an engineering or product designer you need to be aware of the pitfalls of being too square when developing your parts for injection moulding. If you don’t have the right amount of corner rounding and filleting, then part accuracy, strength and aesthetics can suffer.
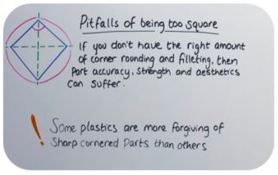
Generally, it’s important to have smooth rounded edges, but there are a number of factors that can affect even a well radiused part.
Some plastics are more forgiving of sharp cornered parts than others, so talk to your supplier.
The thickness of your walls will also play a role. Beefing up adjacent walls can absorb some of the stress that you get from sharp internal corners, but beware because that beefed up wall can cause other design issues.
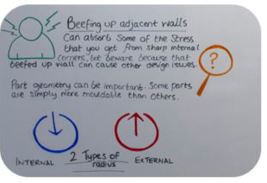
And part geometry can be important. Some parts are simply more mouldable than others.
All of these factors can affect the amount of corner radius that you need on a part design, it’s a question of balancing them, because Injection moulding is a complex process.
But what about when you are sitting in front of your CAD? Well there are two types of radius that we need to think about: internal and external. Just so that you know, when I talk about filleting, I’m talking about radii that are found at the bottom of each compartment where the walls meet the floor of a box. You don’t want to make these corners too sharp, so put in a radius that is at least half as thick as the adjacent wall thickness.

As for the radii at the top of those walls, well they should be rounded to about one and a half times the thickness of the wall.
Why is this? Well it allows the molten plastic to flow more easily and gets rid of the residual stress that twists thin walled workpieces. It also prevents cracking that could lead to your part or product failing.
The material that you select can also make a difference. If you’ve used injection moulding before, then you may have seen gaps along the top of some of the compartments or on the outside of a case. It’s almost as if there wasn’t enough plastic to complete the part. But It’s not because your supplier has been skimping on you, the culprit is more likely to be the raw material itself.
When you force plastic through an injection mould, it does not behave like an amorphous easygoing blob. It creates long chains of molecules that link with adjacent molecules and they don’t like being cramped into a tight corner or having to flow around a sharp edge caused by posts or wall intersections.

It means that the material might not reach every nook and cranny in your mould cavity and you are left with some gaps.
Even if the material does flow where it’s meant to, the stress caused by all that molecular bending and twisting can result in warp and bow on the moulded part.
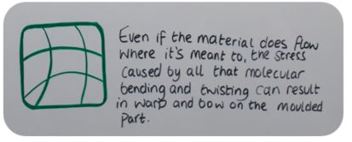
Obviously neither of these scenarios are great.
There are two things that you can do. Generally, the problem is worse for glass- and fibre-filled materials because their greater strength and molecular integrity make them less likely to go with the flow than unfilled plastics.

The second one is to get the mould design right, proper radiusing will go a long way to avoiding this.
You also need to realise that there are certain machining limitations that can prevent you having the sharp corner that you want. The internal corners in any mould cavity can’t be smaller than the end mill used to machine them.

Now you can get around this by using other manufacturing methods such as electrical discharge machining, but this is slow and will cost you more money. Plus of course you run the risk of the complications that I’ve already talked about when it comes to the injection moulding itself.
Moving on, I mentioned about beefing up your walls to help you get sharper corners… well it’s not just about making them thicker, because this can lead to sink, shrink and bubbles.
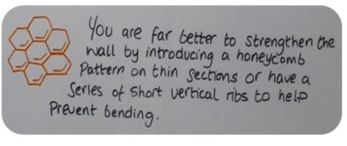
You are far better to strengthen the wall by introducing a honeycomb pattern on thin sections or have a series of short vertical ribs to help prevent bending.
Now if all of this rounding and filleting sounds like a right hassle, don’t worry; your CAD system should help and your supplier should pick up on any potential problems when they check your design using their design for manufacturability analysis.
Right that’s it for this week. I look forward to seeing you again next Friday.
With special thanks to Natalie Constable.


