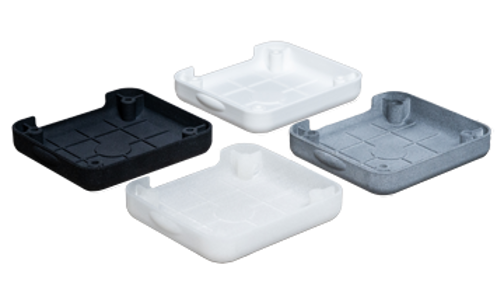
Inspections for 3D-Printed Parts
Certifications ISO 9001:2015 | AS9100D | ITAR
All parts undergo a 100% visual inspection as well as part sampling of measurements to verify that basic dimensions meet quoted tolerances. With our AS9100-certified offerings—Selective Laser Sintering (SLS), Multi Jet Fusion (MJF), and Direct Metal Laser Sintering (DMLS)—parts are sampled using AQL (Acceptable Quality Limit) level II as part of our manufacturing process.
If you need a report, we offer three different options. Compare the benefits of each inspection report to see which is best suited for your project needs.
| Benefits | Measurements | Additional Features | Eligibility | Additional Lead Time | Sample Plan |
|---|---|---|---|---|---|
| Includes a dimensional report of requested features | Bubbled/CTQ dimensions if indicated, otherwise all toleranced dimensions | Formatted report with bubbled part image and result summary chart | All 3D printing technologies | Two business days or more depending on inspection requirements | One part per geometry, unless otherwise specified |
Additional Information: Upload a 2D drawing including requested inspection features. Reference Report is informational-only and is not pass/fail. Any features we are unable to measure will be stated in the Manufacturing Analysis of the part.
| Benefits | Measurements | Additional Features | Eligibility | Additional Lead Time | Sample Plan |
|---|---|---|---|---|---|
| Includes a pass/fail dimensional report of requested features | Bubbled/CTQ dimensions if indicated, otherwise all toleranced dimensions | Formatted report with bubbled part image and result summary chart | DMLS, SLS, MJF | Two business days or more depending on inspection requirements | One part per geometry, unless otherwise specified |
Additional Information: Upload a 2D drawing including requested inspection features. Dimensional Inspection Report is pass/fail per drawing tolerances. Drawing will be reviewed to ensure alignment with process capability. Any exceptions to the drawing (including features we are unable to measure) will be stated in the Manufacturing Analysis of the part.
| Benefits | Measurements | Additional Features | Eligibility | Additional Lead Time | Sample Plan |
|---|---|---|---|---|---|
| Includes a dimensional report of all features in AS9102 FAIR format | All dimensions and drawing notes | Full 3-page AS9102 document and matching bubbled drawing | DMLS, SLS, MJF | 2-5 business days or more depending on inspection requirements | One part per geometry |
Additional Information: Upload a 2D drawing that aligns with the requested 3d printing technology and material. Drawing will be reviewed to ensure alignment with process capability. Requests for redline or written acceptance of exceptions will be made at the time of quote if needed. Any exceptions to the drawing will be stated in the Manufacturing Analysis of the part. AS9102 is pass/fail and parts will be cleared for shipping once AS9102 report is signed and approved.
What to Expect on Your Report
Using industry standard measurement equipment traceable to NIST, our technicians evaluate and measure according to your requirements and sampling plan. We provide you with a digital Excel report with bubble numbers indicated directly on the report. The report includes min, max, and actual values as well as the equipment used for each measurement.
In addition to our other inspection reports, our 3D printing service line offers an AS9102 First Article Inspection—an aerospace industry standard. The AS9102 FAI is designed to establish that the manufacturing process can produce compliant parts. It serves to evaluate the process—not the individual parts. We verify the manufacturing plan and sample one part from the master build for each geometry requested and provide that in a full AS9102 report for you to acknowledge and approve use of the master build to produce additional parts. To ensure the parts themselves are compliant, a dimensional inspection report can be requested in addition to the AS9102 FAI.

For AS9102 inspections, all information on the drawing, including notes and title block, are verified. This means a drawing needs to be created for the 3D printing process you plan to use. We would not be able to use a molding or machining drawing for an AS9102 inspection. At the time of quote, our team will review the drawing and communicate any changes that need to be made. Creating a redlined drawing based on this feedback is preferred. Otherwise, written acceptance of any exceptions is required before we can build parts. When the FAI is complete, the report will be sent for your signature and approval. Once the report is signed and returned, we will proceed to build the remaining ordered quantity and ship parts out.


